|
ThingLink was a site I featured a few weeks ago. It was one that I saw another teacher demonstrate, but I had not used it with students myself yet. That tends to be difficult in my position. I don't have guinea pig students to try things on anymore, but I do have teachers that have been stepping up as my testers!
Mrs. Davis in 4th grade wanted me to do something "techy" with her kids when they finished their informational papers. The first thing that came to our minds was ThingLink. Create an Account
I chose the free service they provide , and it has proven to be enough at this point. Hint for teachers: under the Get Started button is a link for teachers to follow. I logged in using my Google+ information (so, your school Google account works).
Student Accounts
I made a "Davis" group and then clicked on the gear to manage my students.
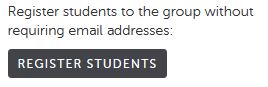
You then can add students without using an email address. I did this because I wasn't clear on the class code usage. We did have some problems, although this is an option. Then they could use their Google logins. It will create an account for them, using their firstname@somerandomletters,moreletters. I believe all the students in your class will have the same extension on their address after the @ sign. Then the password is a unique one. I recommend changing this AS SOON as they log in for the first time.
From there, they can get started. Follow the link below to learn HOW to make a ThingLink!
Make a ThingLink Here are some samples on what the student created ones look like! 

0 Comments
One of our teachers demonstrated Thinglink for the high school teachers during our PLC day a couple of weeks ago. I had seen this in passing, but had never looked at it from an educational standpoint. There are so many GREAT things that can be done with this site. Imagine this, you have an image and on that image there are clickable points. These points include links to websites that give more information, questions to think about, a Google form exit slip/quiz/response...endless possibilities. Your very own interactive poster! First off, cost. Free to educators. Here is the breakdown between the free and paid. 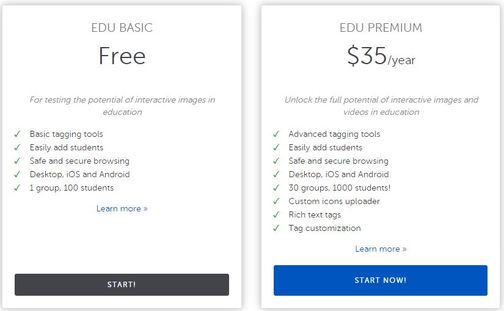 Really, the difference is if you have a lot of students you want on here to create. I think most of us can safely say that we don't have over 100 students. Some of you do. The Premium would be good if you had over 100 students AND you wanted them to be able to create Thinglinks of their own...often. I would not purchase this for just one project. Once you sign up (and you can, using your school Google account - easy peasy!), this is your workspace... 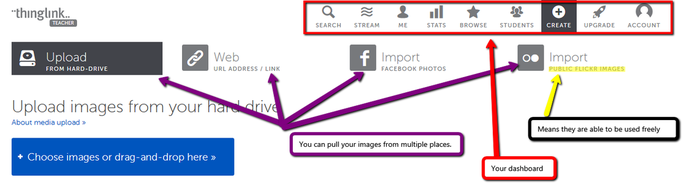 Once you choose your image, it puts it in a workspace. You then click to tag the picture. From there you use the space to the left to add links or text. It is very easy to use. When you are finished, click Save at the bottom. 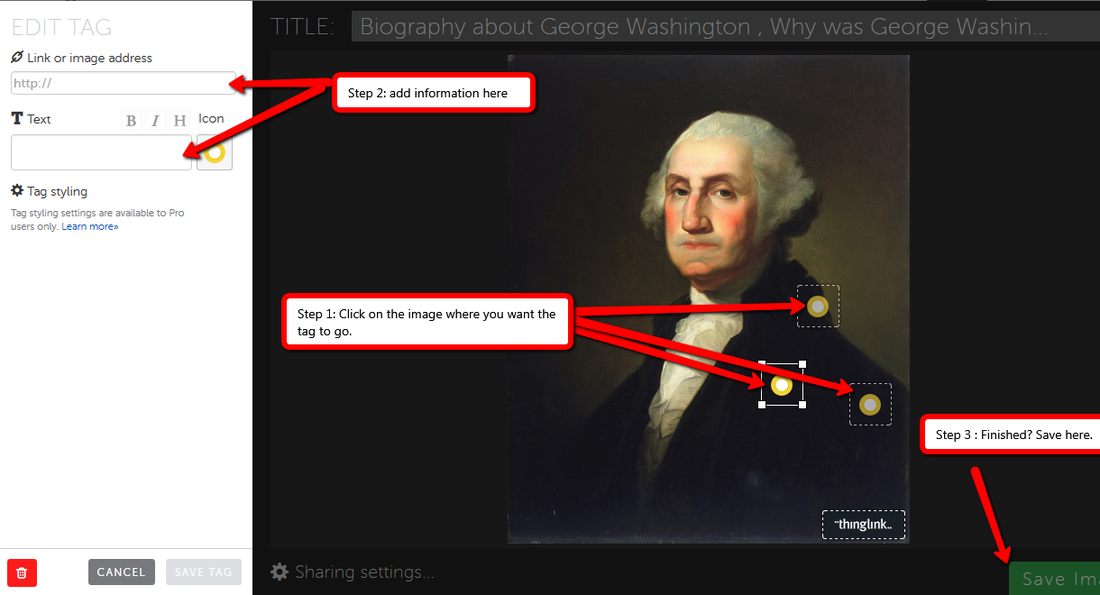 After saving, you can share your Thinglink via social media, with a link, or embed it on your website. So easy. You can even go back in and edit it.
If you use Thinglink in your room, send me the link that either you or your students do! I would love to see them. Better yet, have me come in WHILE you are doing them so I can provide support. |
AuthorFifth grade teacher in a 1:1 iPad classroom, sharing my journey with technology in the classroom Categories
All
Archives
March 2020
|

 RSS Feed