 Favorite new thing! Choice elimination in Forms. Need parents to sign up for a party in your class? If you dislike getting 3 bags of napkins, use choice eliminator to stop it! Ready to schedule parent/teacher conferences? Parents sign up for their time and it is no longer a choice for others. No more scheduling for the teacher! Planning a carry-in for lunch? Send out what you need and let people choose from a list. How To Make it Happen
0 Comments
Using Google Forms to set up appointments with teachers? parents? staff? A common request is the wish for a confirmation email. Well, the wait is over! If you would like to have a confirmation email sent out to the people submitting their information to your form, this is the way to do it. Step 1: Create a form (keep it open in one tab) Be sure you ask for their email address! Step 2: Click on "View Responses" on the top of the Form (another tab opens, leave it open) Step 3: Open another tab and go here https://sites.google.com/site/formemailer/, click on "Updates" Step 4: Choose the top choice and download the attachments (the little piece of paper at the bottom of the post. See diagram for directions. 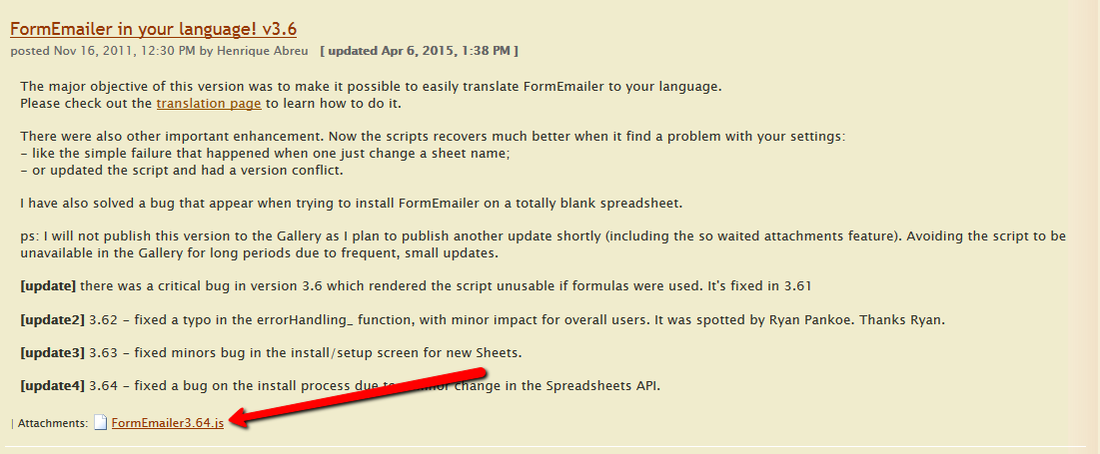 After you download it (pay attention where it goes) Step 5: Right click and open with Notebook (it will look like crazy HTML) Step 6: Select ALL text and copy it Step 7: Go to your responses form, Tools > Script Editor Step 8: Delete the script already there, then paste the script in the box Step 9: Save the script (change the name) to FormEmailer Step 10: Go to Resources > Current Project Triggers (this will tell the spreadsheet when to send the email) Step 11: Look at the diagram for the settings. 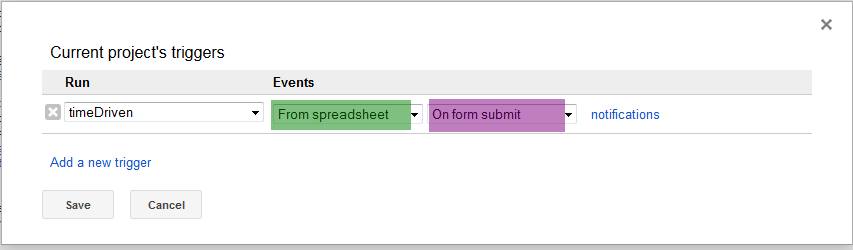 Step 12: Save Step 13: Go to Run > onInstall > Authorize Step 14: Now go back to the Response Sheet > FormInstall (now on your toolbar) > Install > Install (a new sheet is inserted and a new column is on the left side)  Step 15: Go back to FormEmailer at the top > Settings Step 16: To have the email go to someone else, change the Answers Placeholder to the cell with their email address in it Step 17: Click "Insert placeholder" next to the "To" line. Step 18: Take out any information you don't want included that is in the body. Step 19: Save and Close Now when this form is filled out by someone, they will receive an email. If you would like to have another person, like yourself, receive an email, too, we can set that up. This is a process for a confirmation email. This post was inspired by the video tutorial down below from Jen Jonson. 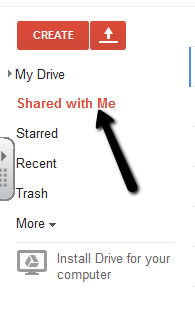 Is there one folder on your Google Drive that you don't want to touch? Let me guess, the "Shared with Me" folder? Yes, this folder is a nightmare for those people who like their files to make sense from an organizational standpoint. I feel the fear when I go in there. No way to organize them, afraid to delete them, curious as to WHY someone would share certain things with you...the list goes on and on.
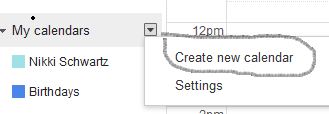
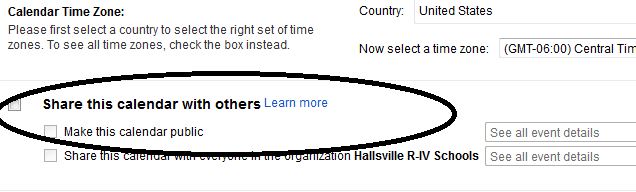
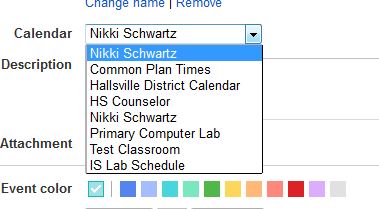
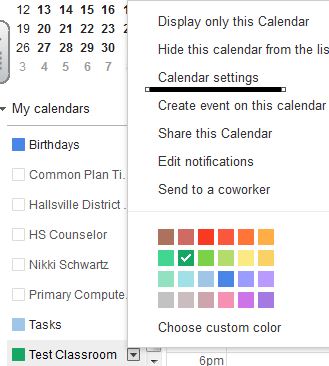
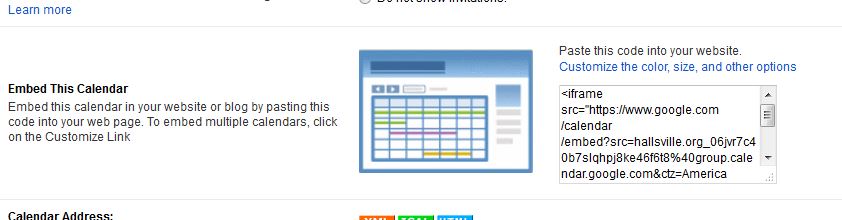
Here is how you can best organize this folder. Things you access regularly: There are documents someone has shared with you that you access almost daily (think, dismissal changes, lab schedules, testing schedules). You can click the box next to those and then choose "Add to My Drive", which has darkened along the top of the screen. It is now added to your Drive where you can place it into your nicely organized folders. Things you never, ever look at: Delete them. But wait, does that delete it from the owner? Nope, it only deletes it from your Drive. The owner still has the original and you no longer have to skip over it in your list. Google Classroom documents: One thing that has come up is that even though Google Classroom creates a nice folder in your Drive, it also puts all those shared documents in the Shared with Me folder. Yep, that right there causes the overwhelmed feeling to rush back! At this time, there is not much you can do to fix that. Some have said you can delete them from "Shared with Me", but there is the concern that it will delete it from the Classroom folder. Not 100% sure about this, but you could try it out. Ultimately, it will still belong to the student, who is the owner of the document. Or just do what I do...avoid that folder unless you know someone JUST shared something with you! Lol! One thing people miss from Microsoft are the templates. No fears, Google has you covered! When you are in the Drive application you wish to use, go to New > From Template. A new tab opens up that may appear blank at first. It defaults to templates created and saved by Hallsville.org users (yes, we can create and save our own...think, common forms we use in the district). From the top bar, you can choose "Public Templates". Once there, you can search and find what you are looking to use. When you find what you want, choose "Use this Template" and it will open a copy. You can rename it as your own at that point. That's it! Easy, right?  Would you like to have a classroom calendar you can display on your webpage? It has never been easier than with Google Calendars! This is a step-by-step on how to get the calendar created and the code to put in the website. I can tell you how to put it into Weebly, but if you need to know how to do it on another platform, let me know and I will look into it for you! Go to Google Calendar on your App waffle (you need to be logged in). Click on each photo to learn more. They go in order of the process. From there, if you are on Weebly, go to the page you would like to insert the calendar onto. On the left side you will see a button that has this icon, </> Embed Code. Click it and drag it where you want it on the page, paste the code you copied, into the box. It should now be on your page. You may have to publish and view the website to see it fully!
So many of us love to use the keyboard shortcuts, and it isn't any different in Google. They actually won't allow right clicks to get to some of the more popular functions, like cut, copy, and paste. Here are some shortcuts you may consider using in Drive. You may even want to print them off and post them somewhere near your computer. Another idea, take the more popular ones and post them around your classroom for students to see. Thanks to TeachThought for this list!
Have a collaborative project for students? Did someone delete important information and you need to find out who it was? Welcome to viewing revisions in Google Drive! If you would like to see the revisions done to a Google Drive app, you can do that very easily by viewing the revision history. You can even revert back to an old copy, if you like! Click on File > See Revision History 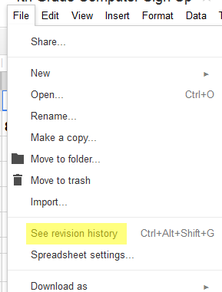
A window will open to the right of your document. 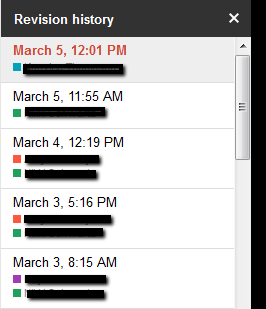
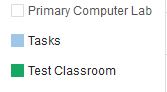
Each person has their own color. The blue is one person, green is one person, orange is one person, and purple is another. You can see that there are multiple orange dots, that is all the same person and the changes they have made. When you click on that revision history, the box turns grey, as shown in the first box above. Then any changes that person made during that revision, will come up in that color on the document, as shown below. 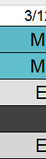 Everything else goes to gray scale, while the revision is in the color of the person that made it.
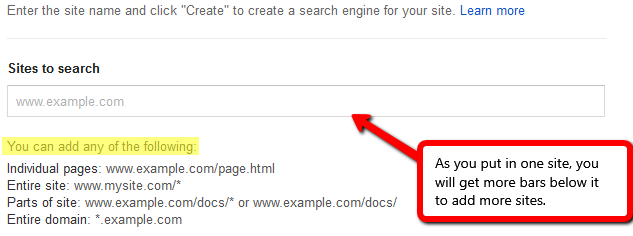
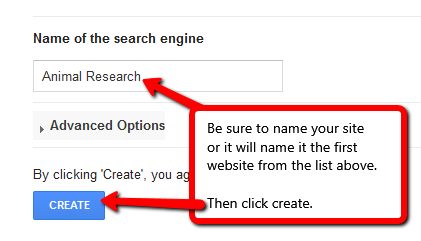
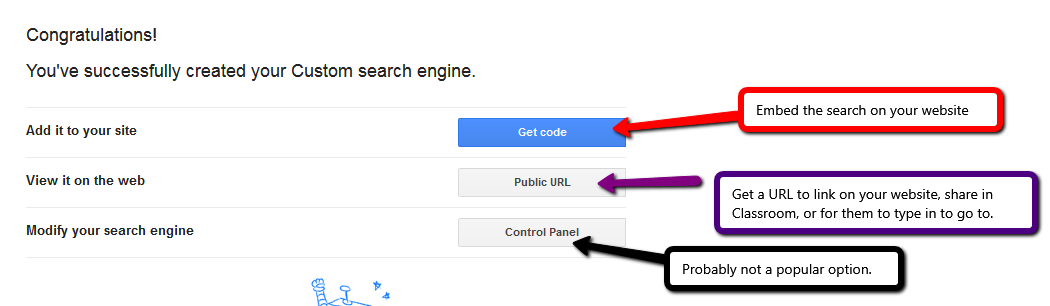
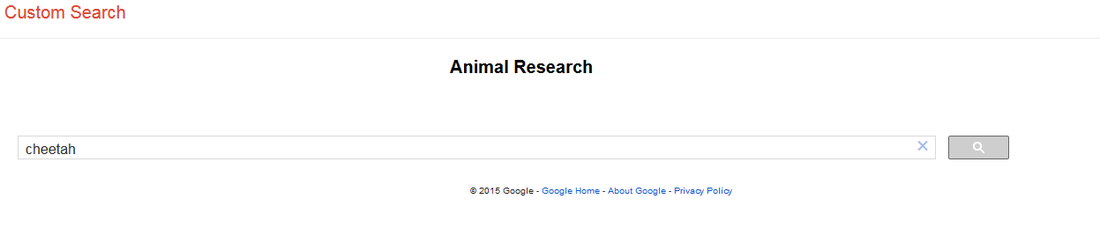
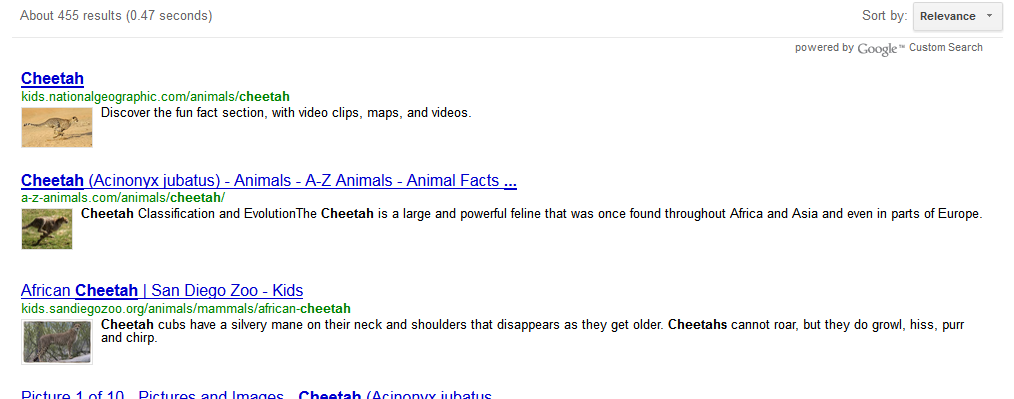
This can be helpful in seeing if a student took your revision suggestions and made them. You can see if someone peer edited a little too much (or wrote the paper for someone else), the time it was worked on last, and probably more! Again, a useful tool for teachers, seeing revision history of a Drive app. This applies to Presentation, Drawing, Spreadsheets, and Docs. It may also apply to other apps, too. I attended the eMINTS conference this past week and this blew my mind! You can make customized Google searches! That means that you pick the sites your kids search from. So cool, especially for those younger kiddos that are just learning to search. Go to https://www.google.com/cse/all to get started. Click on each image to enlarge in order to get a step-by-step on creating a customized Google search for your students! Have you ever created a Doc, shared it, and instructed people to make a copy, but they start typing on it, causing all documents to be changed? If so, this will solve that problem! This is not necessary if you are sharing through Google Classroom. This is only if you are sharing or emailing the Doc link out to people. Again, you do not need to do this if you are running it through Classroom.   When the user clicks on the bottom link, this is the screen they will get.  This is what their title will read. Why would we need to do this? Forms teachers need to fill out (CARE team), reflection forms after PD sessions, Docs you need only a handful of students to fill out and return, etc. This prevents files from being ruined if deletions or edits occur.
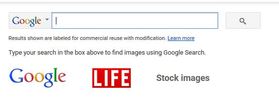
You do not have to leave your Google Doc to search images. You are able to search within any Drive program for images from Google, LIFE magazine, and stock photos. The photos pulled up in this search are also images that can be reused with modifications, which means you have permission to use the images, a much better option to going to Google Images and just searching randomly! This works within any Drive program: Docs, Presentation, Forms, etc. 

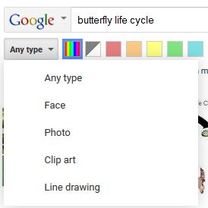 Once you search, you can narrow your search to show just faces, photos, clip art, or line drawings. This is a really neat feature that can be useful for projects. I searched the butterfly life cycle and was able to look at photos, clip art, and line drawings - which showed a lot of diagrams.
I really like that these are images you can use freely without worrying about use. |
AuthorFifth grade teacher in a 1:1 iPad classroom, sharing my journey with technology in the classroom Categories
All
Archives
March 2020
|
 RSS Feed