|
When Mrs. Thompson asked me about doing something different than reading packets and answering questions for their state project, I was eager to find something interactive and exciting for the students to try. Enter Animoto.
Animoto is great for musical slideshows. It's easy to use and makes attractive shows. We wanted to take it a little further though. Some groups wanted to make Chamber of Commerce type videos, with speaking instead of music. After thinking about it, I went with using Audacity (a great FREE program that records audio). Students put their images into Animoto to create the slideshow. Audio was next, and some chose to use subtitles with music in the background while others recorded their audio. Those that recorded their own audio opened Audacity (note: have the microphone plugged in BEFORE opening Audacity, or you get a weird humming sound when you record) and created side-by-side windows of Audacity and their video. Students pressed 'Record' in Audacity and 'Play' on the preview, recording their voice as they watched the video. Afterward, they exported the audio as an MP3, inserted into the song section of Animoto, and produced it. Voila! Videos created! Check them out below.
0 Comments
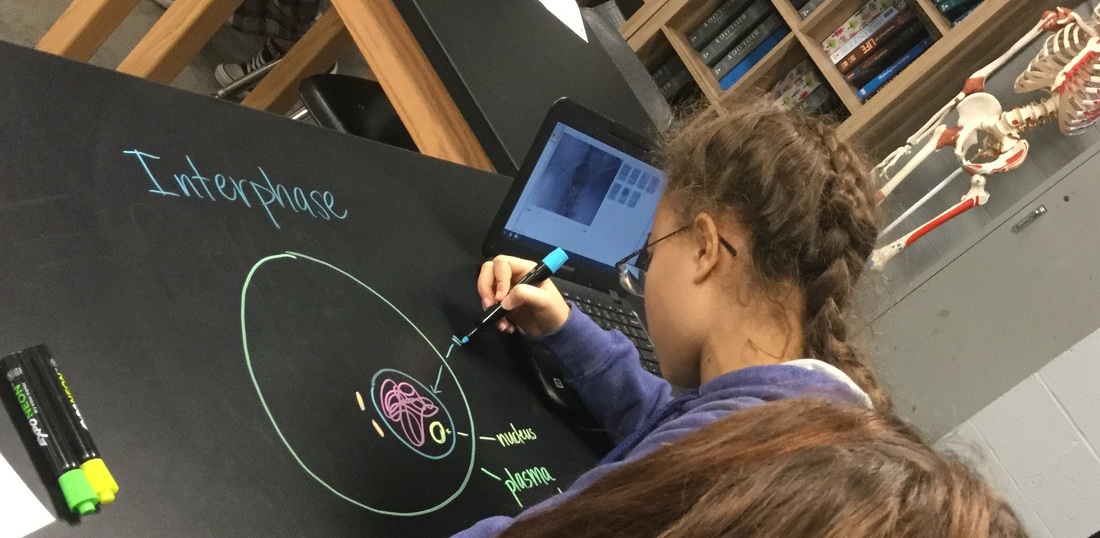
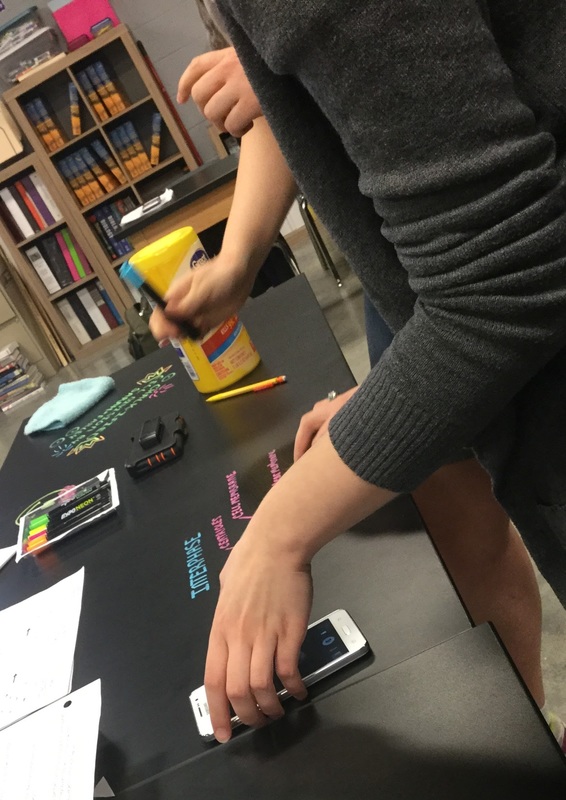
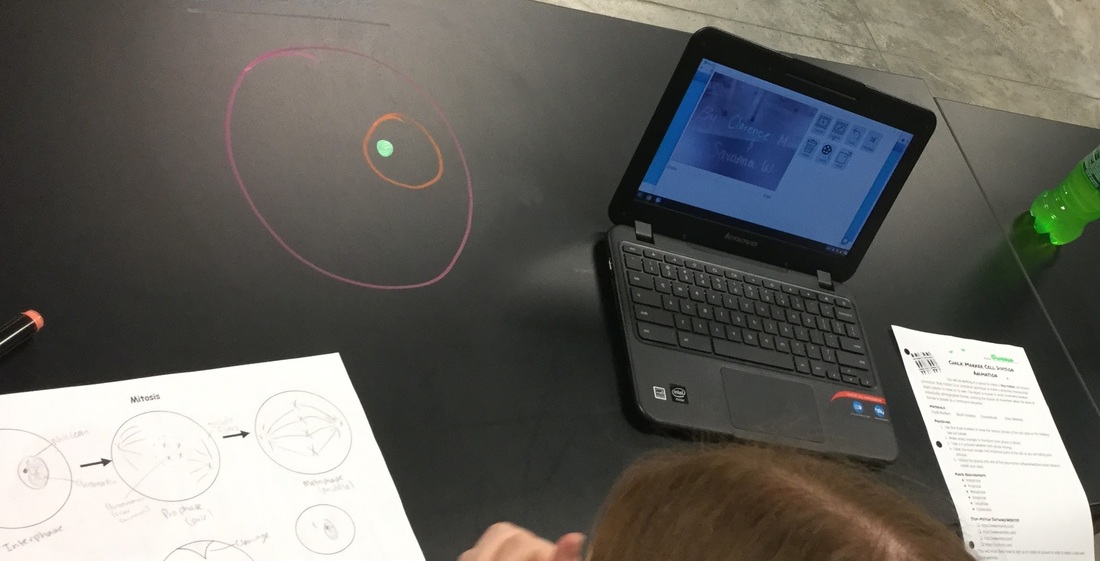
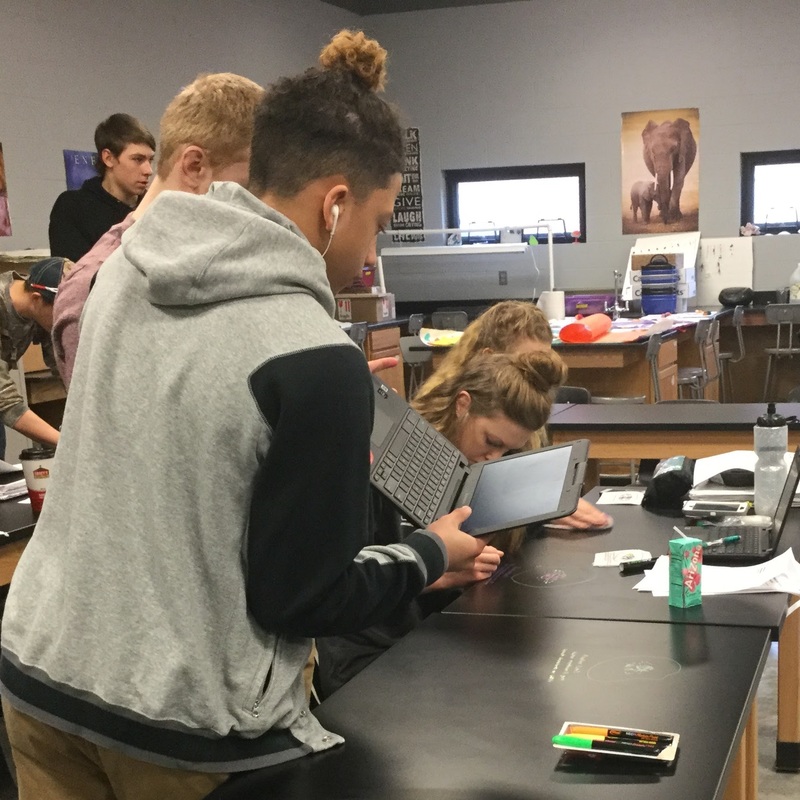
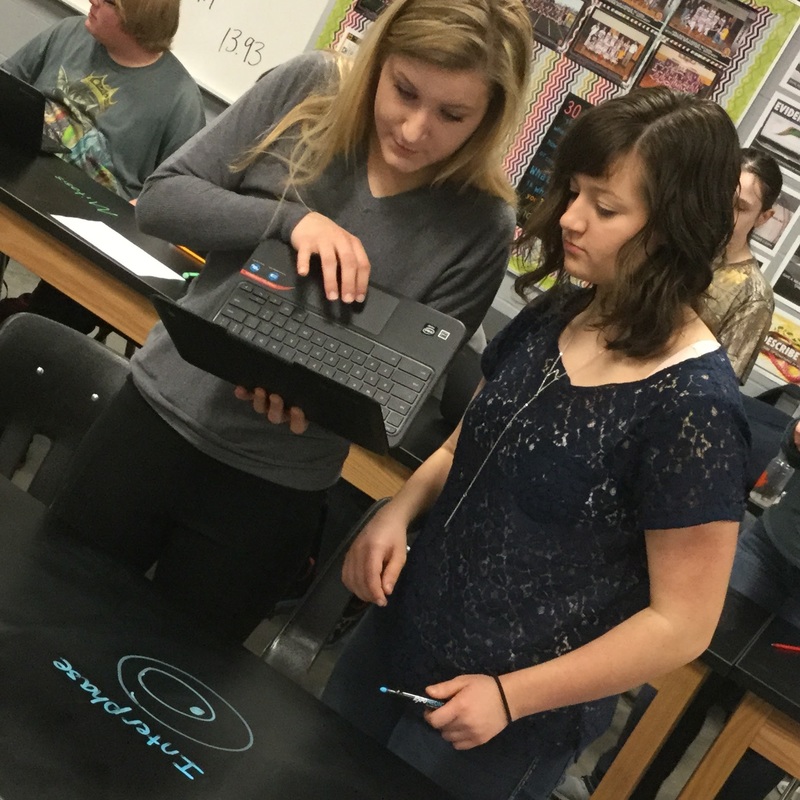
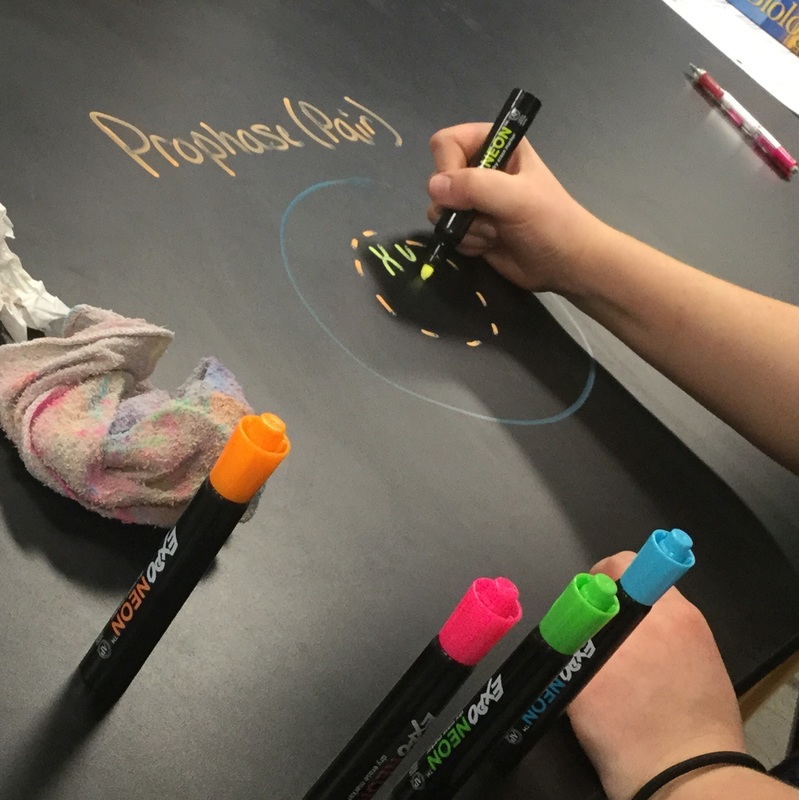
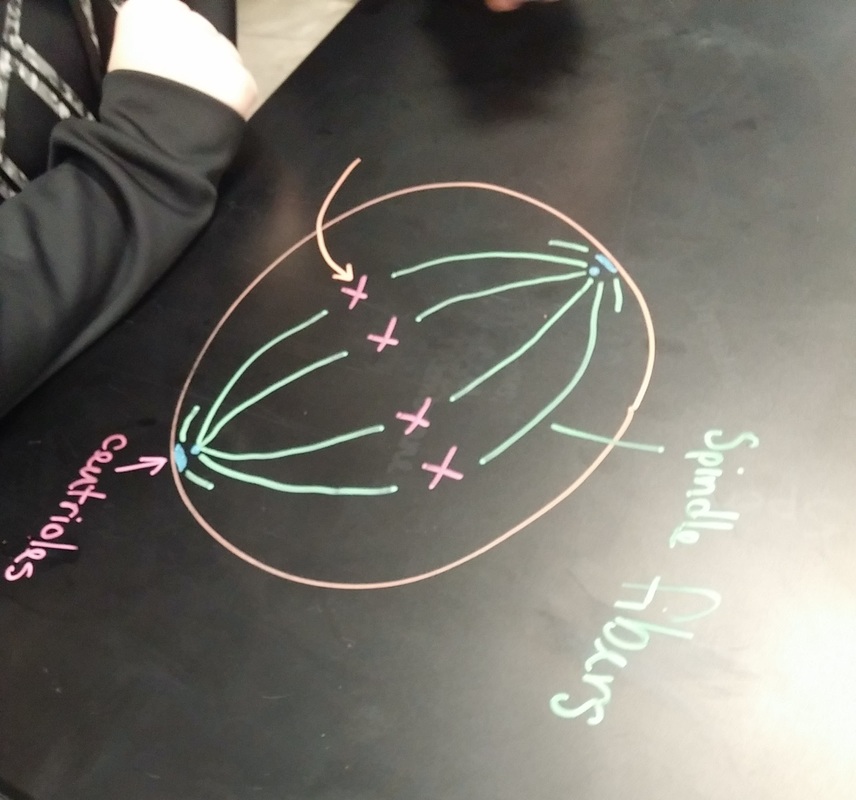
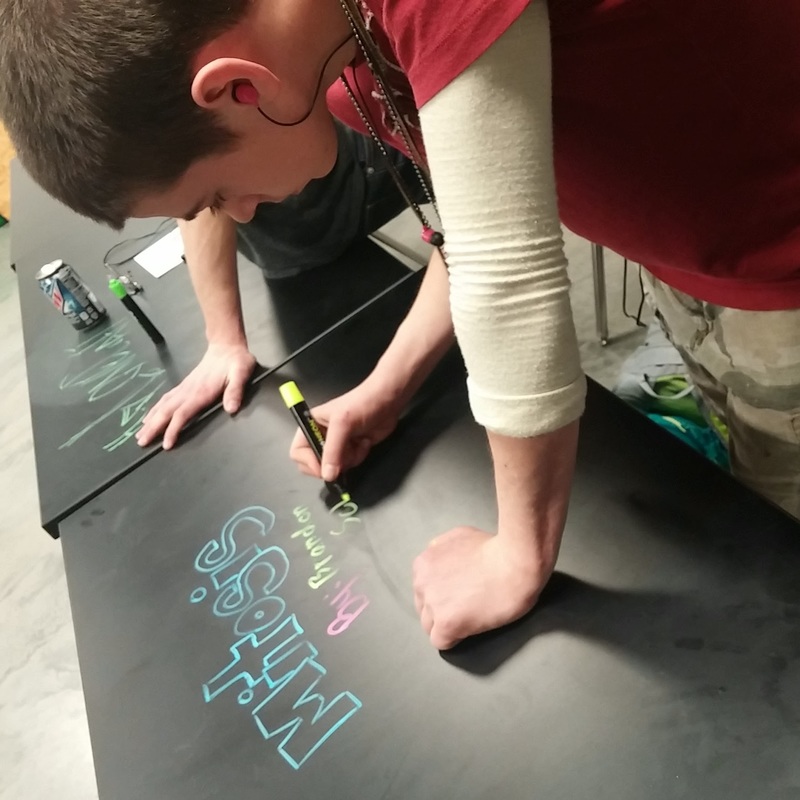
When the dynamic Erin Snelling approached me about wanting to do videos for cell division in her high school biology classes, I was quick to send back some ideas of what she could have students use. After going in her room to assist, I quickly saw that she wanted stop animation for this project. Because of the ease of adding apps to the Chromebooks, I was able to quickly push Stop Motion Animator out to her students. This has to be one of the easiest apps to use. Students needed very little guidance to get going on this, exploring and figuring it out for themselves. To be honest, this app needs very little explaining - very simple.  Stop Motion Animator on Chrome Stop Motion Animator on Chrome Students were given chalk and neon markers and were told to draw on the tables. Gasp! Yes, draw on the tables. Erin has black-topped tables, which were perfect for the chalk markers (we recommend Expo neon markers because they were the brightest). Students would draw a little, snap a photo, draw a little, snap a photo, and so on. When they needed to erase, they grabbed a wet towel and a dry towel, did their business, and continued on with the videos. Students drew the stages, using their notes, and were told to label specific parts. Erin gave them a directions sheet the day they started, which had their requirements listed for each phase of mitosis. Something I found interesting, students who typically weren't engaged in other classes I had seen them in, were engaged in this lesson. Although some of them were chatting or slightly off-topic, their work was still getting done and they would problem-solve together. Students were engaged and participating in their learning...they got excited when they heard they were asked to draw on the tables. Just by drawing on their desks, this adds engagement to the lesson. Seriously, this makes me want to buy markers for everyone just for them to write on their tables! I am including some of the finished products for your viewing pleasure! Please comment or retweet this to someone who may be inspired! Note: they may have added some silly photos in the endings of their vids...just playing around with the tool! Lol!
**A couple of great appy things - some kids had to come back to their videos the next day, and it was easy to load their videos from the day before and move forward. Then some of them finished and were able to move their videos to their Drive and share them.
During a meeting on our work day before 2nd semester started, the website Educanon came up in the discussion. I had explored this site before, but many had not. So I thought this was an appropriate time to create an Under 5 installment to inform those of the awesomeness that is Educanon. If you love using videos in class or want to create a flipped or blended classroom, this site is going to be the best thing to happen to you right now! Educanon is a site (and can be found in the Chrome App Store) that allows the user to insert questions throughout a given video. You can even create your own video, save it to your Google Drive, and do this process! I love it! It is also super easy to incorporate with your Google Classroom with the sync feature they have. Check out more about it in my Under 5 video!  This week I was taking part in the Google Apps for Education (GAFE) Twitter chat (#gafechat). The whole subject had to do with creating videos in the classroom. We discussed how this added to engagement, critical thinking skills, and collaboration.
A lot of people think that having students create videos is just an easy time-filler, but I am here to tell you that with proper planning, this can turn into an activity that boosts learning and really makes students think. I like to think of video creation as the publishing part of a writing piece. Script writing is another genre of writing that needs instruction and modeling to ensure it is done correctly. ReadWriteThink has a great unit for 6-8 on Filmmaking. It is important to teach students the vocabulary of making films. There are a lot of terms specific to filming. Have students plan what their idea is and plan the story. Many films are adapted from great books. They have to write a story to know what direction their film is going. Then they can adapt their stories to scripts, and finally into storyboards. The storyboards are like comic books. You want the students to put their actors where they should stand, give ideas for how long they should be on camera, and what lines should be said, During this time, the actors should be learning their lines, people in charge of the cameras should be learning how to get the best camera shots, different angles, zooming in and out, etc. After students go through and create their storyboards, they should start filming. They may want to do a walk-through before filming to make sure bodies are turned correctly at the camera, their voices are heard, and any other parts they need to include. Then the filming starts. A good filmmaker is always editing and revising their storyboard and scripts, even as the camera is rolling. When the filming is done, the fun of editing comes into play. Students can then piece together their film, manipulate sound, video quality, and transitions. Again, this is a lesson on vocabulary, critical thinking, collaboration, and patience. It can take a lot of patience to learn video editing software. At the end, students can debute their video masterpiece. Let them have a wonderful movie premier, making a big deal out of it. Roll out the red carpet, get the popcorn, and sit back to enjoy! Check out the ReadWriteThink unit here! |
AuthorFifth grade teacher in a 1:1 iPad classroom, sharing my journey with technology in the classroom Categories
All
Archives
March 2020
|
 RSS Feed