Tips for eLearning During Coronavirus While we are in the beginning of this unknown territory, it is important to remember our students are going to have different experiences with this form of learning. Some are going to have active parent support, some are going to be doing this on their own, and some aren't going to do this at all. We have to be honest with ourselves at this point.
Not all of our students are going to understand e-learning since they have only been IN our schools learning at this point. It is going to be especially difficult if their teacher has not been doing any e-learning with them in the classroom, but they are now expected to do ALL of their learning on the web.
0 Comments
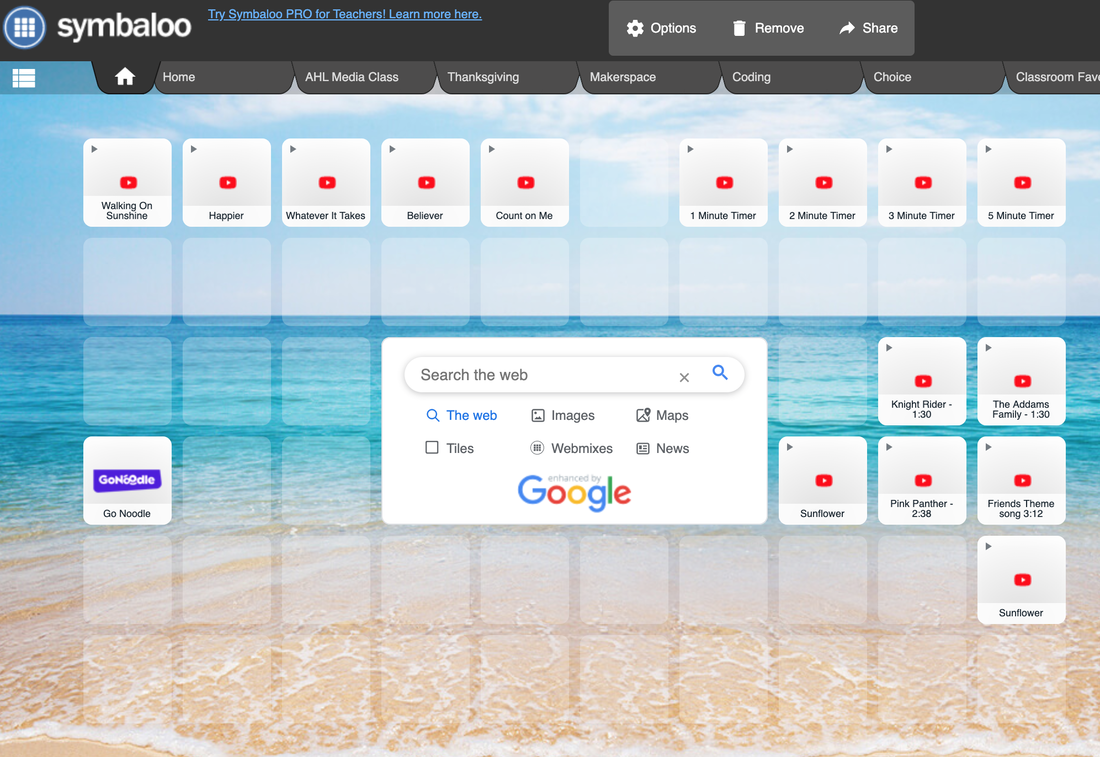
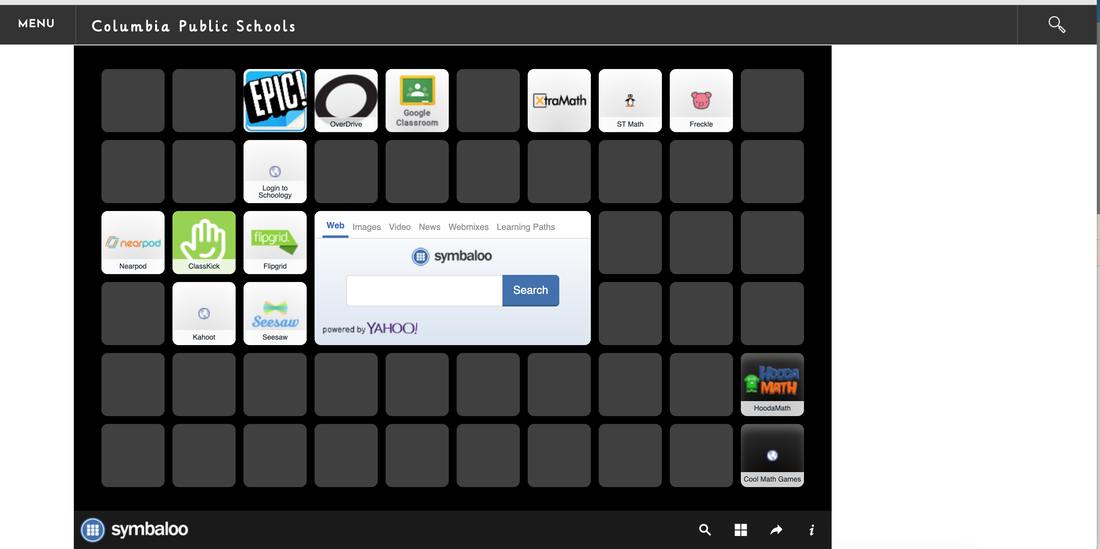
One place to keep ALL those shortcut links that your students need on a daily basis? YES, PLEASE! A website that updates in a *snap* when you need to share a link with your class? YES, PLEASE! Symbaloo.com is THAT website that will help you in SO many great ways. I'm sharing a couple of ways I use this in my 4th grade 1-to-1 classroom. Transition Music
Student Links
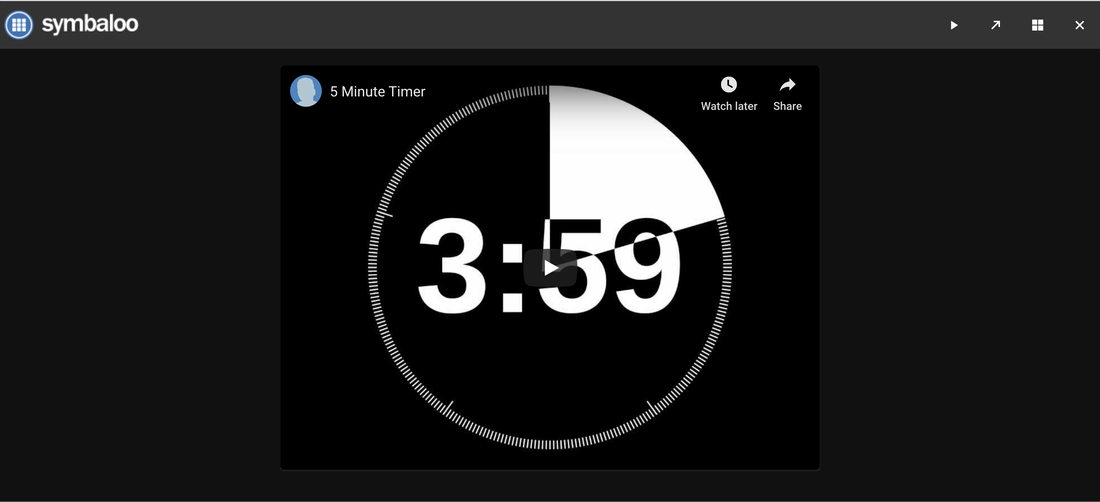
I discovered this site after a post on Facebook. I checked it out, and it is legit amazing! It was so easy I was able to implement it after checking it out for 10 minutes at lunch. You go to https://classroomscreen.com/. When you land on the page, it loads, and you have a gorgeous background. The background changes each time you go to the page, OR you can pick your own! 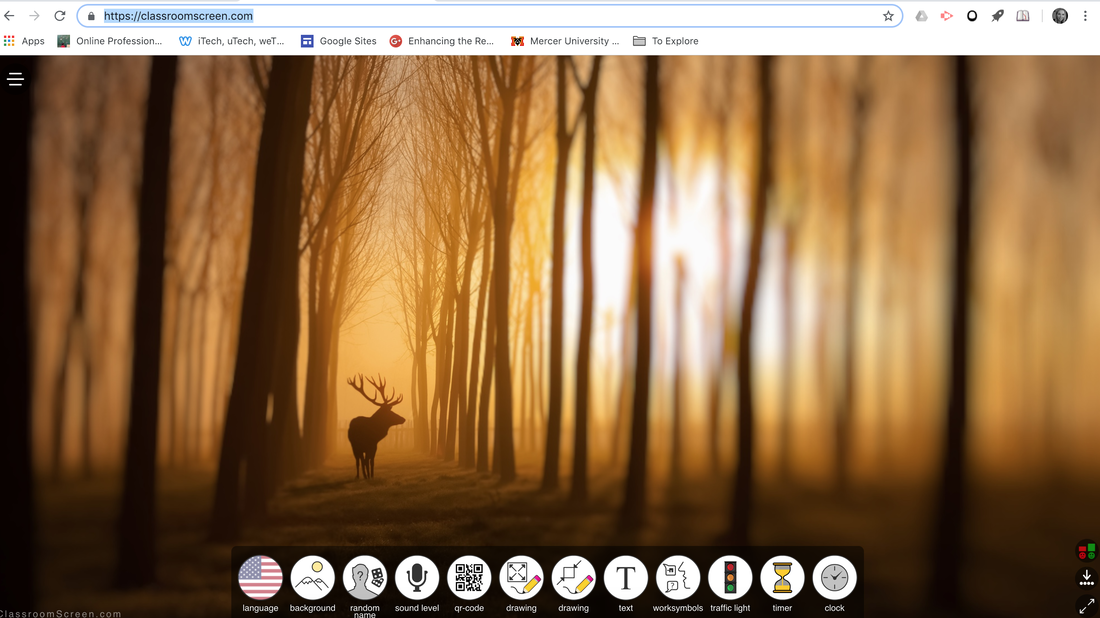 Along the bottom there are icons. These are your widgets (an application that is part of an interface that allows you to perform a function across that service). You can change the language (there are SO many to choose from). You have the ability to change the background (different pictures, solid colors, upload your own, and gif options). Then you get to add fun things to the background to help the productivity of your class! 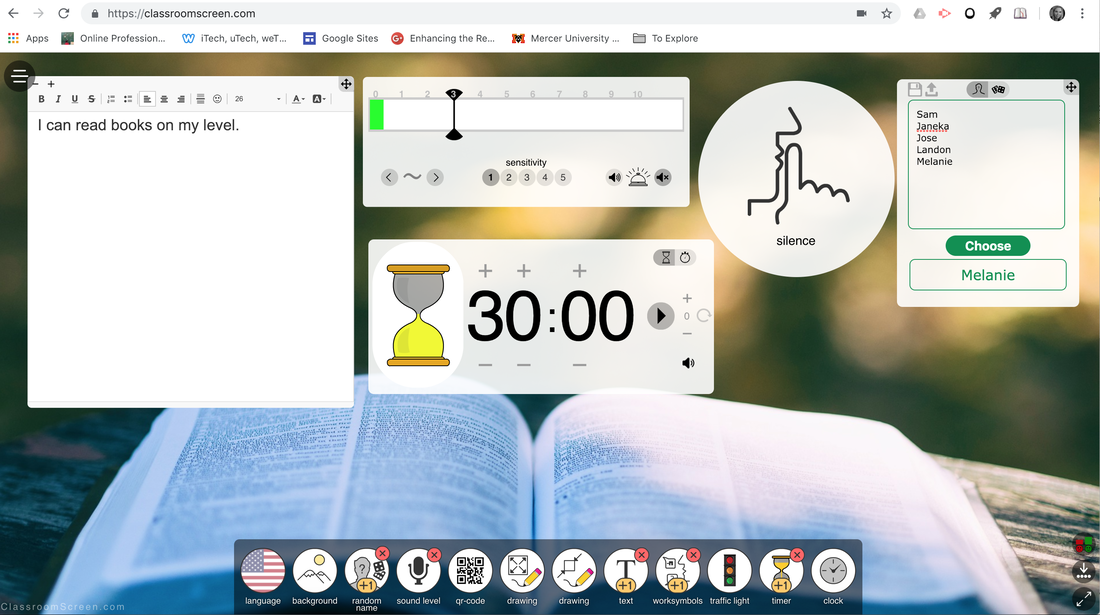 I have added the text (perfect for those "I can" statements, timer (with a nice bell), voice level sign, a sound level tracker, and a name randomizer to mine. The sound level tracker is life. You can adjust the sensitivity, and if student voices get too high, the bell rings. You guys, my kids were all about this for 30 minutes today. Of course they wanted to test it, but...they did SO good on a Friday afternoon! If you don't want the widget anymore you just click on it again at the bottom and it disappears.  And the exit poll! You can use this for SO MANY things. You can choose what options they can select from, have them come up and click their choice (you could do this in transition so that it isn't invasive. I picture them putting their comfort level of the "I can" statement, saying whether they liked something or not, classroom votes...so many things!
The one drawback is that it does not seem to save. BUT...it is amazing. There is an iPad web app that allows you to share it to your screen. I recommend that when you go to the site, go to the menu in the top left corner to read more and see the video! So super cool! When you have to be gone from the classroom, it is often very stressful. Not only for you, but for the students. In my 1:1 iPad classroom, I found that my plans often would revolve around just managing behaviors because I was able to have my iPads lead the students through their day. Because of this, I have created a student sub plan that I also try to create alongside the adult sub plans I leave. Now, these are not ideal if you have an emergency situation you have to be gone for. But there are many times when I have a good idea that I am going to need a sub. If you have been following my posts, you will remember I do Snapchat videos that I save and load into Google Classroom for students throughout the day, thanks to the ability to be able to schedule tasks. As these notifications go throughout the day, the student sub plans tell students the expectations.
I love these student sub plans because I am able to put reminders in it about behavior, what needs to get completed, and what they should and should NOT be doing. My students said they appreciate it because, let's face it, they know best what they should be doing when it comes to the technology and assignments that I give.
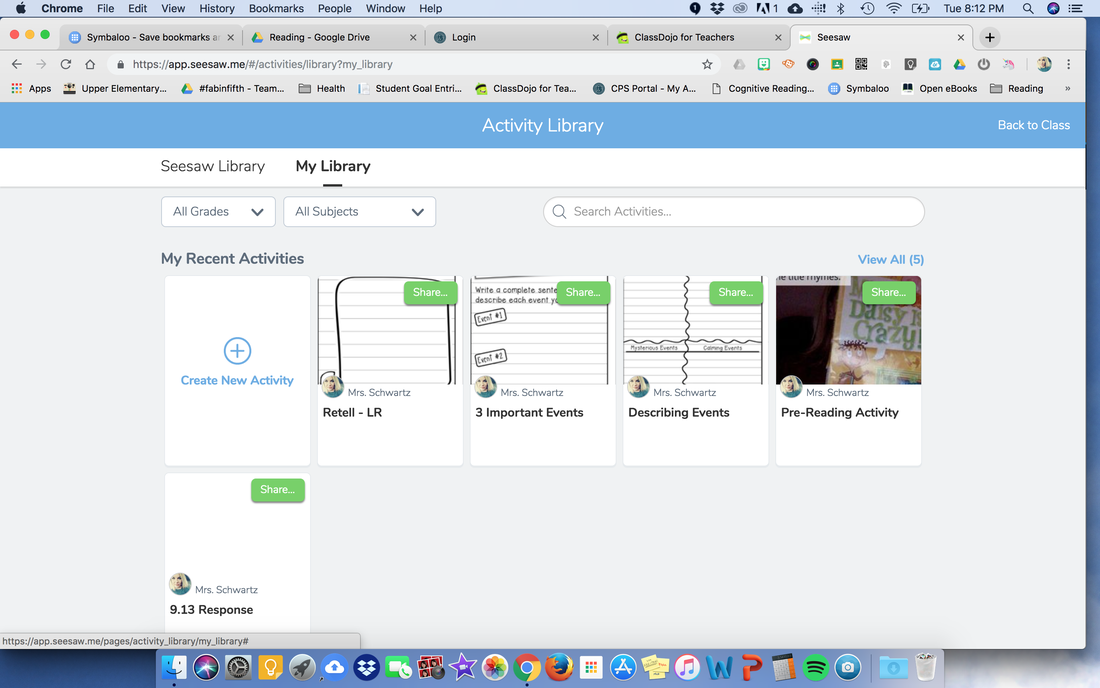
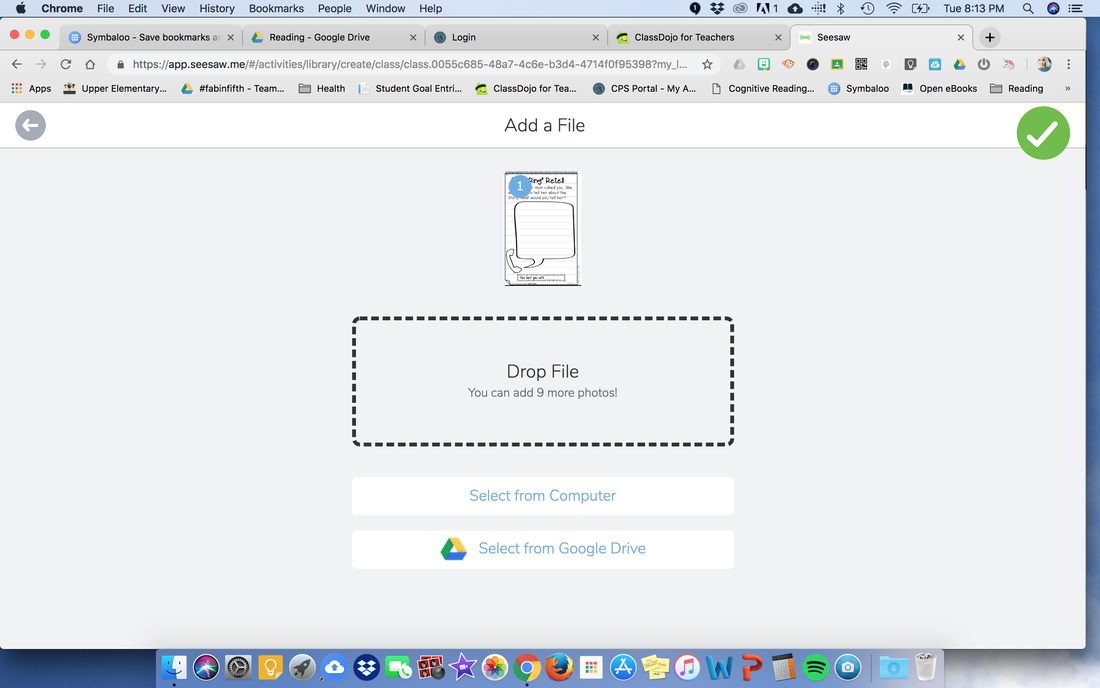
Give it a try! I bet your students will really like their own sub plans. I wanted a way to have paperless book clubs. It keeps my students engaged and it is a great way to not have to print a ton of paper. There are times when I want organizers filled out, other time they are app smashing, creating a product in another app and sharing within Seesaw. I just wanted a place where the students in one reading group could gather and share. Step 1I checked out PD in Your PJs on Seesaw's YouTube channel. There is a great video you can watch to get you started. Step 2I created classes in Seesaw for each of my book groups. I will go in and have them add their book group to their list of classes tomorrow in class. The first activity they are going to do is a book cover preview. I did a sample one for them to see what I would expect. The directions are there for them, too. 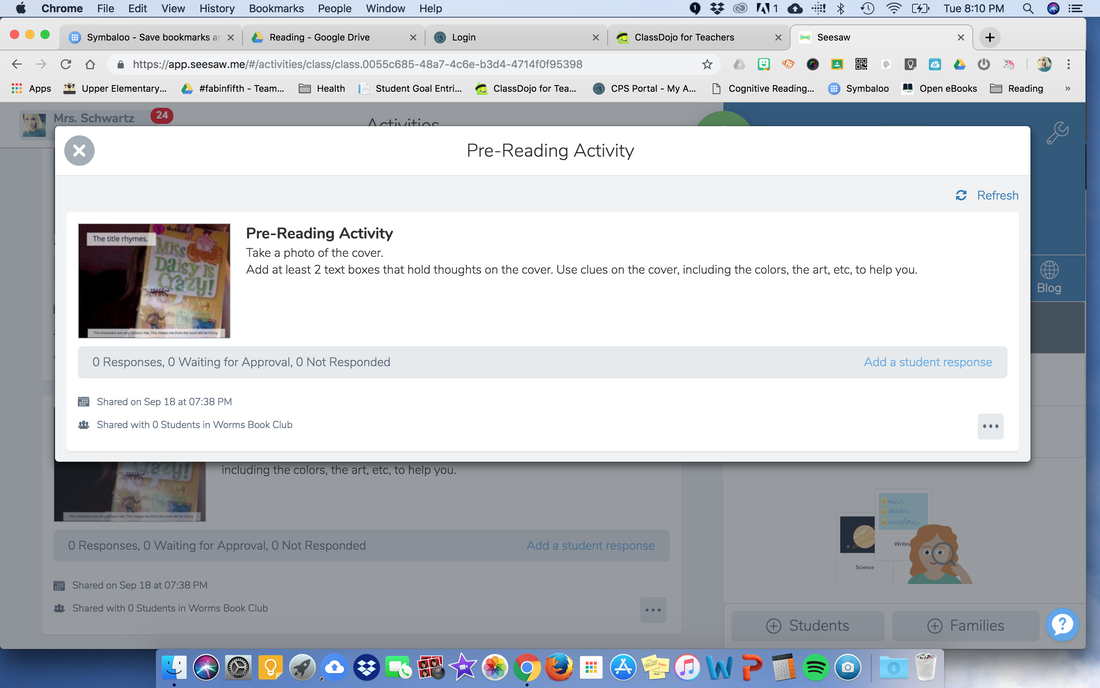 Step 3I bought some organizers on Teachers Pay Teachers that are differentiated by light roast, medium roast, and dark roast. I did a screen shot and cropped it to make it an image file. You with me so far? Follow the captions in the gallery to get a step-by-step! Step 4 I "shared" the activity with the appropriate groups. Now, the activities will be stored in My Library forever - yay! I am pretty excited about this. I plan to use it tomorrow, so I will edit anything that needs to be edited!
I'm back! Working on trying to get at least an update a week on here! Life took over and got busy, that's for sure. This week in fifth grade, I bring you, iPad deployment. My kiddos are 1:1 and have their new iPads for the year. I wanted to have a lockscreen with their class number on it so that I can find the owner quickly by pushing on the Home button. I went to canva.com and created a custom image. I made it 1024x1024 pixels (it asks when you go to create a new image. I then created the background. Pretty simple. After each one, I downloaded it, then edited what I had (wait for it to download or it sometimes keeps downloading the same image over and over. I also put our class saying on it - Be a nice human  After this, I uploaded the images into a Google Folder, shared the link with my kids in Schoology, and saved the correct image to their iPad to change the lock screen. Honestly, it did not take that long! And it is SO worth it!
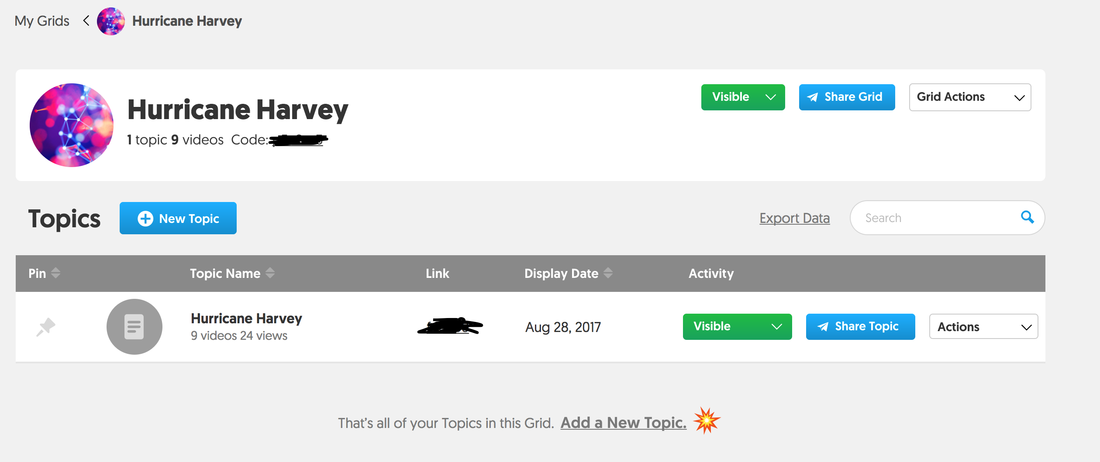
Earlier this year, students were very into the hurricanes and how they were affecting our nation. By using these real life events, we were able to create an authentic reading response situation. I had two goals during this lesson, to show the students how to use the online news source, Newsela, and the response app, Flipgrid. NewselaThis fantastic app allows students to choose the Lexile at which they will read a given article. All students will receive the same main idea and information, but the higher the Lexile, the more details there will be for the reader. The great thing about this is students can choose where they are comfortable reading, without anyone really knowing. For this lesson, I read the article aloud to the students on the second level given. For most of the lessons I would have them read it independently or with a partner. There are also MANY other options in Newsela to explore. FlipgridStudents were then given a crash course in Flipgrid. Honestly, the app is SO user-friendly, I just had them figure it out for themselves. I talked through what I wanted their response to be, their response to what we had read. Flipgrid has the students use a code to get into your Flipgrid board. Then they press to record. From there, they can listen to it and rerecord. I recommend setting guidelines on how many times they can do this, or they will do it over and over again! The screen then allows them to continue through - taking a selfie to post to the board, and then confirming their video. You have the choice on if the students can see or comment on other classmates' boards. There are many options in Flipgrid! (OH, and we had to do an appropriate selfie lesson - helping them find a good angle!)  Such an easy way for students to get logged in to a board - from computer or iPad  Great dashboard feature shows you great key information! Final ThoughtsHere are some other amazing ways to use Flipgrid in your own classroom from Ditch That Textbook!
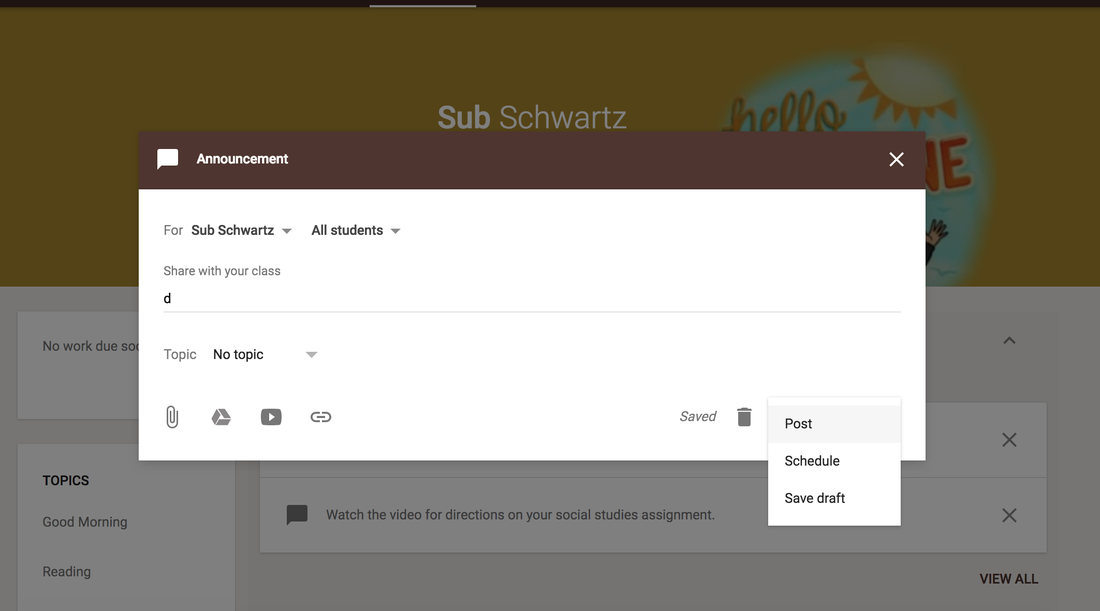
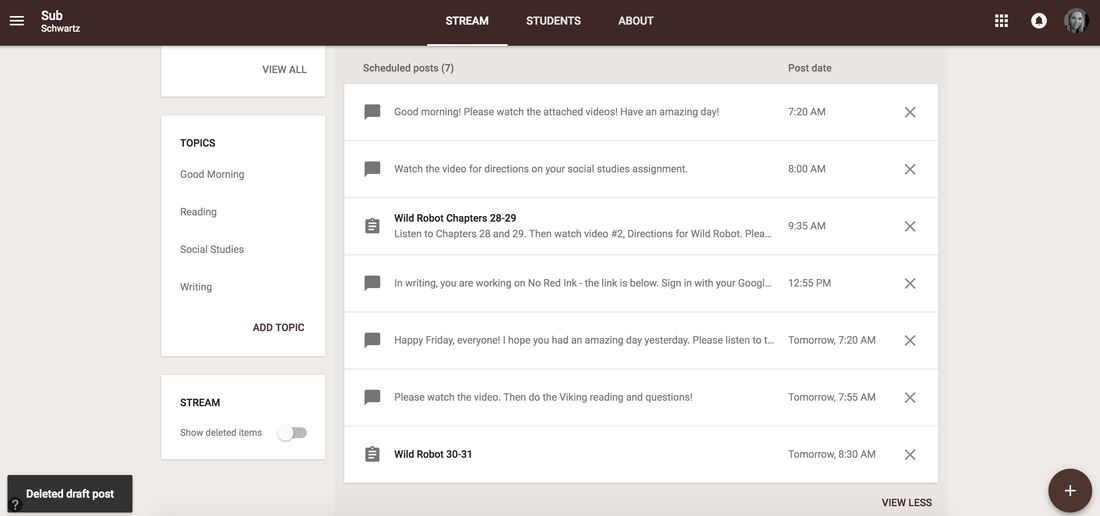
 This summer I went to a conference where a teacher told us she put Snapchat videos into her Schoology lessons for her students. I thought it was brilliant! Fast-forward 3 months and I find myself trying to find a way to help my students be successful while I am out for 2 days. Why not Snapchat? My 5th graders are one-to-one with iPads and they have been super responsible with them this year. I would not have included them with a sub if I didn't trust them. They have yet to give me a reason not to, so they are going to be used. I started a Google Classroom called Sub and had the kids join. In this Classroom, I have scheduled videos and assignments to drop at the time that they should be in that subject throughout the day. This prevents them from working ahead or getting into things they should not be in yet. How to Schedule a Post in Google ClassroomWhen you add an assignment, announcement, or question you can click on the arrow next to the Post button, then you will see the option to schedule. From there you choose the date and time. I had mine set to post about 5 minutes before they would be in the given subject.
Adding in Snapchat VideosPart of what I think will help my students while I am gone is them actually seeing me. Through the videos I am hoping that they will make the connection that I am "there" and wanting them to focus. I took to Snapchat because it's a big thing right now, and who doesn't LOVE those filters?! I filmed small videos that were just directions because it does not give a long time to record. If you wanted to film a really long video you could take the small Snaps and then put them together in something like iMovie. So I filmed the video and instead of posting it on Snapchat, I clicked the download button on the bottom left corner. When you do that it just saves to Snapchat, so you go into the gallery of Snapchat (located below the record button), hold down on the image/video I wanted, and then I sent them to my Google Drive. From there, I could attach them to the assignment or announcement I had created. Voila! Not Just SnapchatI am very possessive over my read aloud books, and I am not big on leaving them for a sub to read. We are doing Global Read Aloud right now, and I wanted to still keep the kids on track. For this, I did not use Snapchat, but I went into Photobooth (you could just use the record function on your phone's camera), recorded me reading the book, and then posted that. I told my students they could expect the videos, and I think the thing they were most excited about was the fact that I recorded them at home. They wanted to have a sneak peek into my house! For sure they will get that...my dog started barking when I was almost done with the book, and I was NOT starting over! If you have any questions, please feel free to ask! I will leave one of the videos below for your viewing pleasure...lol! I'm Back!Okay, first of all, it has been TOO long since I updated, but I am back. The exciting part is that I am now a teaching in a 5th grade classroom that is 1:1 iPads. For the past 3 weeks I have been wrapping my mind around how to utilize 1:1 tech because this is the first time I have had this! In my prior teaching years it has been 2:1 or 3:1 with computers. I am happy to report that I am in heaven. I am going to share my class's tech journey with you all this year. First up, Flipgrid. What is Flipgrid?The amazing thing about this app is that students respond with VIDEO instead of typing. I am a firm believer that many children are able to express their thoughts through speech versus writing because they are more likely to use a broad vocabulary when speaking than they are when writing. Students that struggle to write, may feel very confident to talk about their thoughts, too. Getting StartedWhen you sign up for an account you can choose from Flipgrid One or Flipgrid Classroom. Flipgrid One is free and Flipgrid Classroom is $65 per educator per year. So here is the bummer about Flipgrid One, you can only have one grid going at a time. In order to do another grid, you have to delete the one going and then do another one. Bonus though, you can download the videos the kids make. I put them in a folder in my Google Drive so I can save it to see growth in their responses through the year. Once you are signed up you will find that it is so easy to create a grid. It walks you step-by-step through it as you are creating, which was awesome. It took me like 5 minutes the first time to make one. How I Used ItTo introduce it, we read an article on Newsela together and then I showed them Flipgrid. I told them they would create a response that was no longer than 1 minute 30 seconds (that's the limit on the Flipgrid One option) that had their reaction to the article and something they were wondering after reading. Students went to their respective places in the classroom and started recording. There was concern over many students recording at once, but when I listened to the videos, it wasn't distracting. If anything, I think it would be harder if it were quiet because then everyone would be listening to you record your thoughts, which makes many students self-conscious. So my students downloaded the Flipgrid app and then they typed in the Pin number to my grid. Voila! they are then in the grid. It's that easy! Then it literally walks them through the whole process. Guess what? Most of my 5th graders could figure it out for themselves! It's that easy! What I Learned for Next Time
 My dashboard. I can see how many videos there are, change the viewing/posting options, etc.
Photostories were on the menu for 2-5 students this past week. The subject was "A Day in the Life of A...". Students chose an object, a person, or anything else they could think of, and they told about a day in the life of that object.
Part 1: Photostories
Because of some changes in the media class where students do these activities, I did a screencast lesson using Screencast-O-Matic. Initially, I create the lessons for the class, but someone else executes them. Because of there being a substitute in the room, I thought the best way to deliver the lesson was through a screencast. Within Google Classroom I shared my video. Then they used Google Slides to complete their project.
Video 1 was a breakdown of the lesson. I am sharing it with you below.
Students then started creating. After they initially created them, I went in and commented on those that turned their projects in to me. Many of them had overlooked a few of the items talked about in the lesson.
First Lesson ExamplesPart 2: Photostories
When students came back for their next class, they watched the second video I created. Students who had turned in their project were to read their comments and make appropriate changes before moving on to the rest of the requirements outlined in the video. Those that had not turned in went in and completed the first round (and were encouraged to watch the first video again) and then moved on through the second video.
Overall, I was impressed by how well the students did with the video lesson. When I saw students after the lesson was completed in media, many of them commented about how it was me in the video. Doing a video made the situation of having a substitute less stressful because I knew they were getting a lesson that explained what they were doing. Then the job of the teacher in the room became that of assisting students with the directions. As soon as students finish the second part of this project, I will create a post to share more of them!
|
AuthorFifth grade teacher in a 1:1 iPad classroom, sharing my journey with technology in the classroom Categories
All
Archives
March 2020
|
||||||||||||


 RSS Feed