|
When you create a document it is, by default, private and owned by you only. There are permissions you can change as the owner. I am here to walk you through what they all mean.  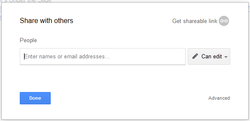 A box will pop up for you to set your sharing settings. It will look like the image to the right. 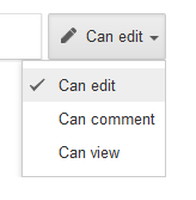 From here, you can add in the names of people you want to have permissions on this document. On the right side it says "Can edit". Click that for this dropdown menu.
Three options appear. People you share with can...
These options can always be changed by the owner at ANY time.
0 Comments
This document applies to any of the Google Drive programs. This will take you through how to share and change permissions for viewers. I just realized that today is Wednesday, not Tuesday! I blame it on having Monday off and the fact that my son turned 4 today. My mind is busy! Anyway, tomorrow I will do two sites of the day to make up for it. Tip for Today: Google Search for Images. I took a college class this summer and realized how important it is for students to choose images in a safe and legal way. We HAVE to teach kids that going to Google, searching, and pulling whatever we want is not the best way to get images. Credit MUST be given or they must choose images that are labeled for reuse. So here, it goes! Go to Google.com, search your image: 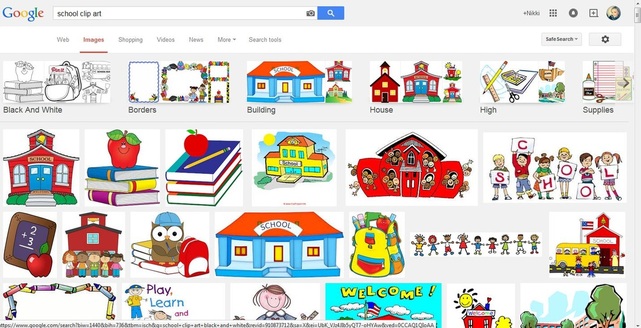
Now go to the toolbar under the search bar and click on "Search Tools". 
A new toolbar comes up under that and you want to choose "usage rights". 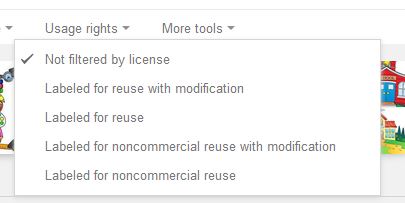
Right now I have all images that are tagged as school clip art. I want to choose one of the selections. We just want images that we can reuse, so any of those selections work. Noncommercial means that you aren't going to publish this in a document that you will be selling, like a book or worksheet. Choose any of these options. It will decrease your image selection, but it will be legal to use them.
Need more image choices? My favorite search is: Creative Commons. Choose to search images or even music that you can use. I would recommend learning to cite the images and music because many of them require it. That is a post for another day! Happy searching!  Have you ever tried to share a document link and get frustrated it is so long? Or do you want to share a link with a student and you can't because there is no way they can type all the random letters and numbers in the address? Google URL Shortener is your solution to this problem! For example, to get the image above, this is the location URL http://upload.wikimedia.org/wikipedia/commons/c/cc/Google_art_prog.jpg This is the new one with the shortener http://goo.gl/wfj5Ow Why do I need this? You can track how many people click on this link, if you are signed into your Google account when you create it. So if you want to see how many students click on a link to a notes page you created and put into Drive, you could track it by making a shortened URL.
If you want to send a form out to the staff and want to send it through email, shorten the URL and it has a nicer appearance when you send it. Also, it can be written down and handed to someone easier than giving them the really long version. Want more help in using this feature? Just contact me!  By now, you all know my OBSESSION with Google. Tuesdays are going to be dedicated to Google Tips. I will also have a section in this blog dedicated to all things Google related. In the future, look for tutorials on my YouTube channel!
Back to Google Tip Tuesday! We all want to make sure our students learn how to "Google" in a smart way. We can't be there to monitor every search they make and we know they have to learn. There are some great options for this!
|
AuthorFifth grade teacher in a 1:1 iPad classroom, sharing my journey with technology in the classroom Categories
All
Archives
March 2020
|
 RSS Feed